Practical advice
- Always tighten the locking knob (11) and the clamping handle (13) firmly before sawing. Otherwise the saw blade can become wedged in the workpiece.
- For all cuts, it must first be ensured that the saw blade at no time can come in contact with the fence, screw clamps or other machine parts. Remove any mounted auxiliary stops or adjust them accordingly.
Protect the saw blade against impact and shock. Do not subject the saw blade to lateral pressure.
Only saw materials which are permitted within the scope of the intended use.
Do not saw warped/bent workpieces. The workpiece must always have a straight edge to face against the fence.
The free end of long and heavy workpieces must have something placed underneath it or be supported.
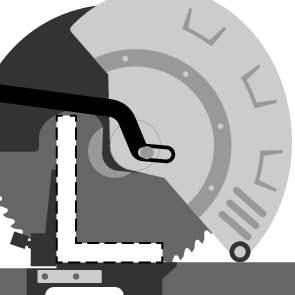
Make sure that the retracting blade guard operates properly and that it can move freely. The retracting blade guard must open when the tool arm is guided downwards. When the tool arm is guided upwards, the retracting blade guard must close again over the saw blade and lock in the uppermost position of the tool arm.
Two laser beams indicate the cutting width of the saw blade. This allows for exact positioning of the workpiece for sawing, without having to open the retracting blade guard.
- Switch on the laser beams with the switch (59).
- Position your mark on the workpiece between the two laser lines.
Note: Before sawing, check if the cutting width is still indicated correctly Adjusting the Laser. Vibrations during intensive use, for example, can cause the laser beams to become misaligned.
The red insert plates (9) can become worn after prolonged use of the power tool.
Replace faulty insert plates.
- Bring the power tool into the work position.
- Loosen the screws (60) using the hex key (4 mm) (16) and remove the old insert plates.
- Insert the new right-hand insert plate.
- Screw the insert plate as far as possible to the right with the screws (60) so that the saw blade does not come into contact with the insert plate over the entire length of the possible slide motion.
- Repeat the work steps in the same manner for the new left-hand insert plate.
Mitre angle | Bevel angle | Height x width [mm] |
|---|---|---|
0° | 0° | 104 x 341 |
45° | 0° | 104 x 240 |
0° | 45° (left) | 51 x 341 |
0° | 45° (right) | 38 x 341 |
45° | 45° (left) | 51 x 240 |
45° | 45° (right) | 38 x 240 |
0° | 0° | L-profile (max. thickness 36 mm)
|
Minimum workpiece dimensions (= all workpieces that can be secured left or right of the saw blade using the supplied screw clamps (18)): 160 x 335 mm (length x width)
Maximum cutting depth (0°/0°): 104 mm